Apart from media playback, a VLC media player can be used for various purposes. For example, you can watch 3D movies, record gameplay videos, etc. Not many would know, but the VLC Media player for PC also offers a few basic video editing features like cutting and trimming clips. Also Read: 10 Best VLC Alternatives For Windows PC
Steps to Cut Videos Using VLC Media Player in Windows 10 & 11
Recently, we found a nifty VLC media trick that lets you cut the relevant parts of a video. In this article, we have decided to share a detailed guide on how to cut video portions using a VLC media player on Windows 10. Let’s check out.
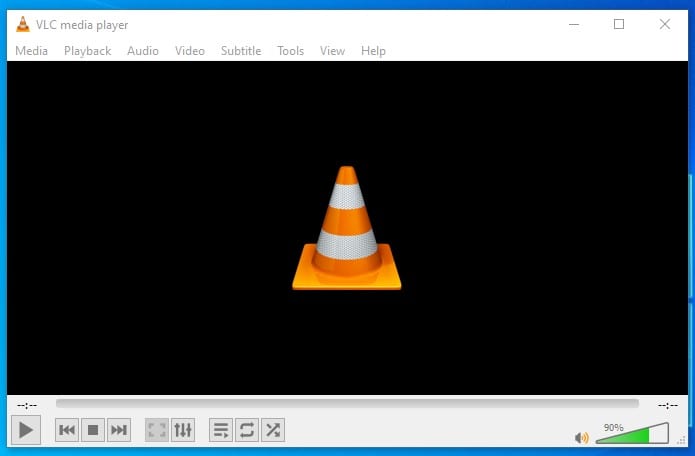
Open the VLC media player app on your Windows 10 PC.
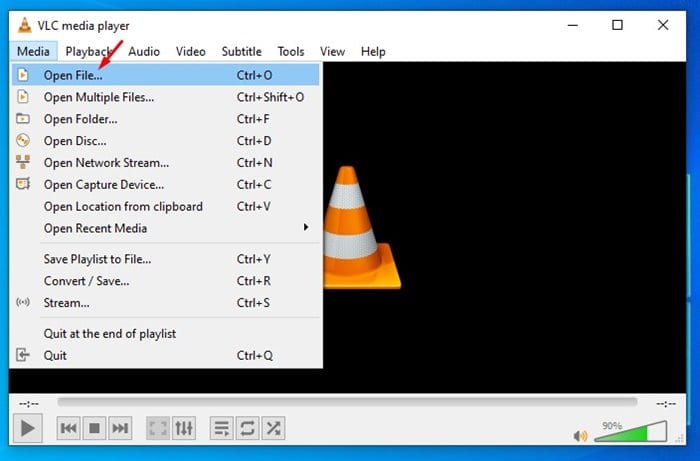
Now, open the media file that you want to cut.
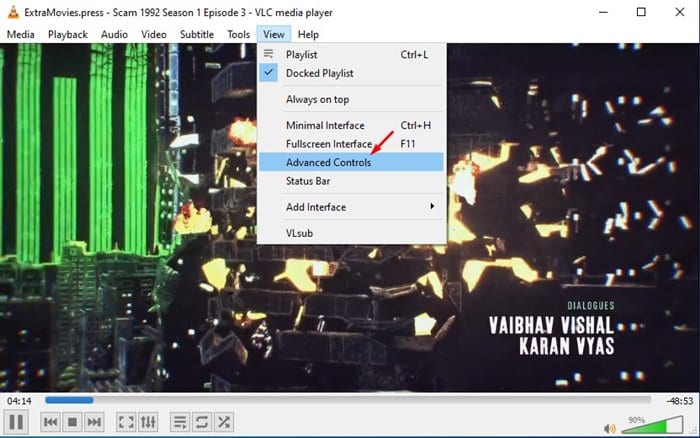
Now click on the View tab and select Advanced Controls.
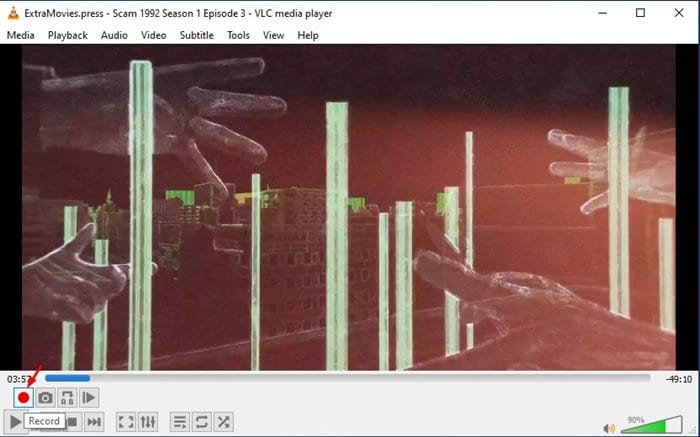
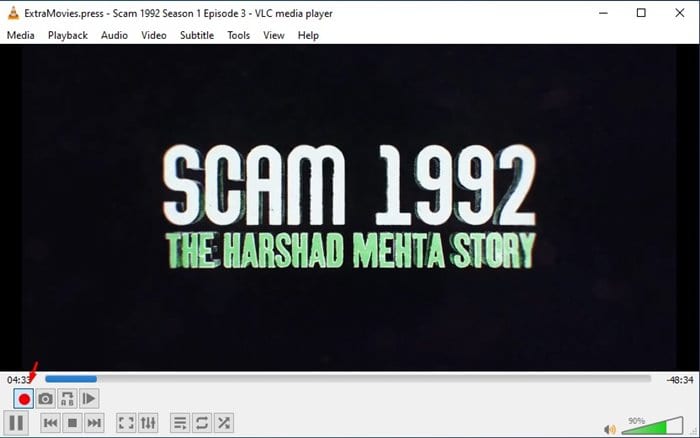
You need to use the Recording feature to record the video segment you want to cut.
Pause the video from where you want to cut, and select the starting point by moving the slider. Once done, click the ‘Record’ button to start the recording.
Once done with the recording, click on the ‘Recording’ button again to stop cutting.
The clip will be automatically saved to the ‘Videos’ folder on your Windows 10 PC.
That’s it! You are done. This is how you can cut videos easily using the VLC media player app. Also Read: How to Stream Video and Audio Using VLC Media Player Note: The ancient version of the VLC Media player app doesn’t have the recording feature. If you cannot find the screen recording option, you need to install the latest version of the app. So, this article is all about how to cut videos easily using the VLC media player app. I hope this article helped you! Please share it with your friends also.
