In 2020, you can record and share your gaming videos on video sharing platforms like YouTube to generate some extra income. Even Windows 10 operating system has a feature that lets you record your screen for free. You can use the native screen recorder of Windows 10 to record your gaming videos. The screen recording tool is actually hidden under the Xbox Game Bar. For those who don’t know, Xbox Game Bar was designed to record clips of video games, but it’s useful for any other type of video capture as well. [alert-announce]Also Read: Best PC Migration Software for Windows 10[/alert-announce]
Record PC Games Without Installing any Software on Windows 10
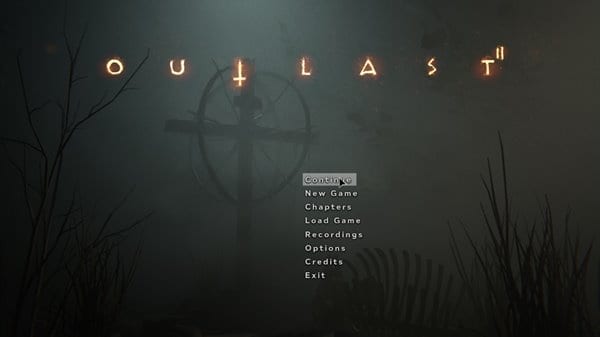
So, in this article, we are going to share a step-by-step guide on how to record Windows 10 Screen without any software. Let’s check out. Step 1. First of all, launch the game that you want to record.
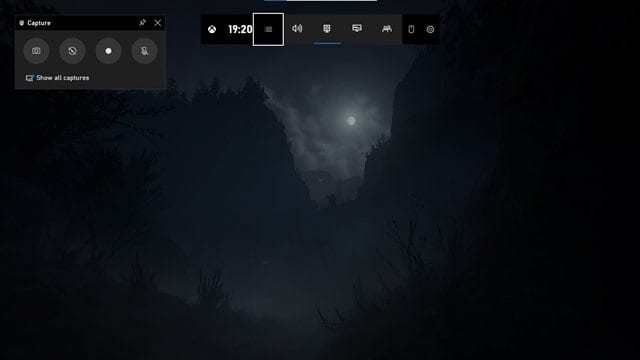
Step 2. Once done, press the Windows Key + G on your Keyboard. This will open the Xbox game bar. Step 3. Now you will see multiple options.
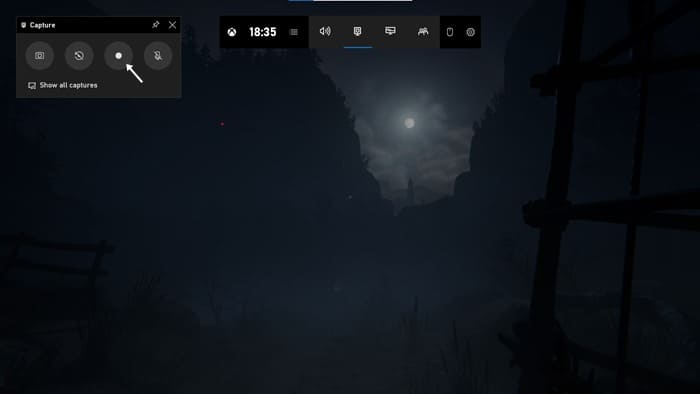
Step 4. To record the gaming screen, click on the ‘Record’ button
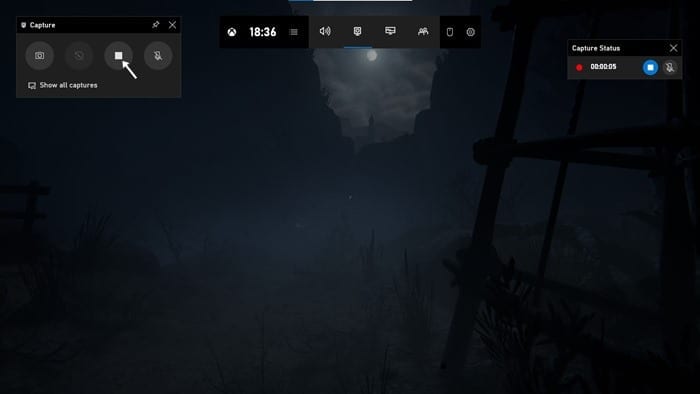
Step 5. To stop the game recording, press Windows Key + G on your keyboard again. Now click on the ‘Stop’ button to stop the recording.
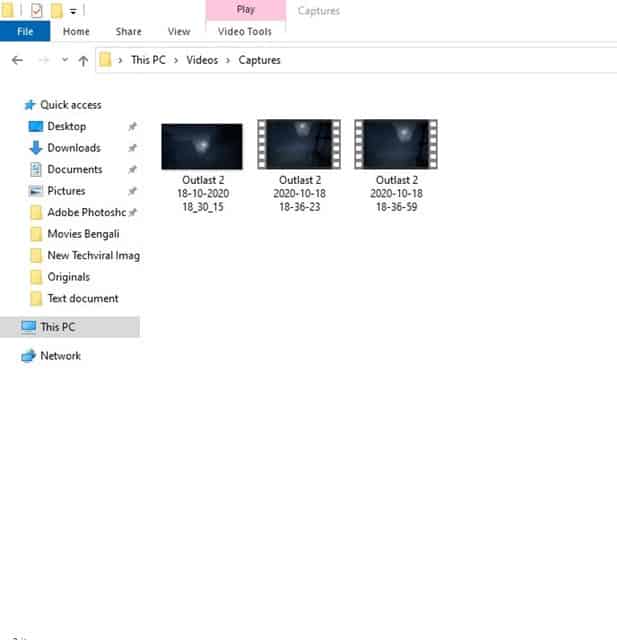
Step 6. The game recordings will be saved in C/Users/Video/Captures folder.
That’s it! You are done. This is how you can record PC games without installing any software. Once recorded, you can share your gaming clips on the video-sharing platform. For a complete list of video-sharing websites, check out the article – So, this article is all about how to record PC games without installing any app on Windows 10. I hope this article helped you! Please share it with your friends also. If you have any doubts related to this, let us know in the comment box below.
